People have been asking for a while, and we delivered! It is now easier to:
- Upload your own files;
- Upload (or remove) your own ZIM files;
- Add a password to your network (the hotspot is open by default);
- Set a clock;
- Enable and check usage metrics.
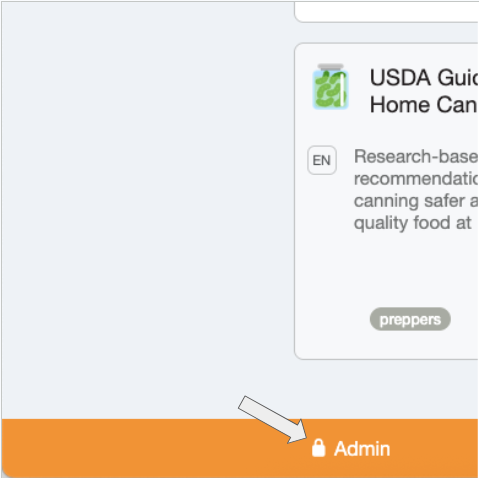
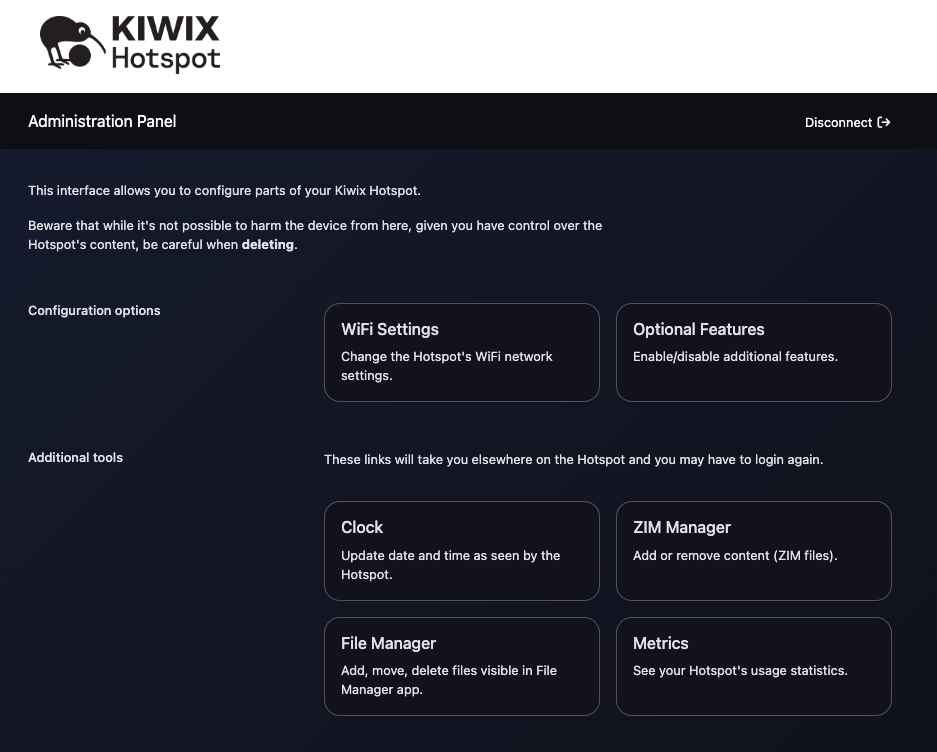
And all of this through an easy-to-use admin dashboard, which you will access from the bottom of the hotspot’s landing page.
From there, simply decide what it is you want to do:
BUT. There is always a “but”. In this case, bear in mind that uploading new ZIM files will still have to be done via the Hotspot’s wifi – meaning that the upload will take as long as the ZIM file is large.
ONE LAST THING.
Going through the WiFi settings you will notice that a network profile can be toggled from Coverage to Performance (and vice-versa).
- Performance means faster download/upload speeds and more robust connection but only works within an approximately 10m radius from the device. Use it if your hotspot is in a classroom, for instance (think 5 GHz WiFi on a home router);
- Coverage means larger coverage at the expense of speed and robustness. Use it if you expect to use it in a house, or that there will be walls between the hotspot and its users (same as the 2.4GHz setting on a home router).
Performance is enabled by default.
Happy offflining!